/
Introduction
Start here to learn how to use different controls in RoxForms
RoxForms has extensive list of controls users can use in their forms. All controls have basic settings like state and name, but also each control might have advance settings like Speech to Text for text controls. Here is a list of available controls:
- Date Time
- Attachment
- Electronic Signature
- Location
- Multiple Choice
- Single Choice
- Text Input
- Number Input
- Page Break
- Photo
- Video
- Section
- Table
Options
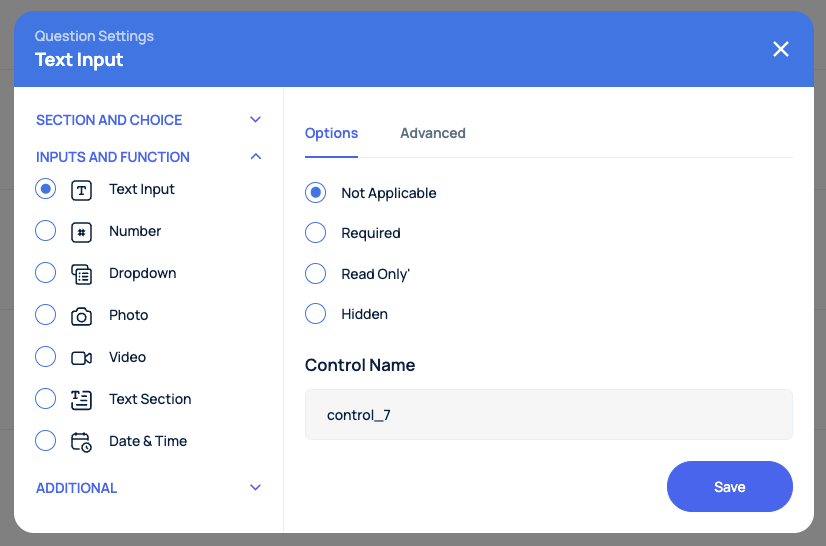
Every control in RoxForms has a default Options section:

All controls have a state parameter, which can have values:
- Not Applicabale
- Required
- Read Only
- Hidden
When using WebHook Integration, all controls will pass their current state, and by using your custom workflow you can manipulate the control's state - hide or show depending on the workflow requirements:
    POST https://{customerwebhook.com}
    {
    "data": {
        "formId": {
        "state": "hidden",
        "value": ""
        },
        "control_1": {
        "state": "notApplicable",
        "value": {
            "key": "ZEw2jkoWqhQQrOIQKlsu",
            "label": "Admin Digital"
        }
        },
        "control_4": {
        "state": "notApplicable",
        "value": {
            "label": "NIck Savenko 2",
            "value": "U4JMLVNGGdEkYFNeLBEJ"
        }
        }
    },
    "action": "Update"
    }
Control Names
In addition, every control has a name. The name has to be unique for each control as RoxForms uses control names in Workflow and Export functions, but also in SQL DB Integration